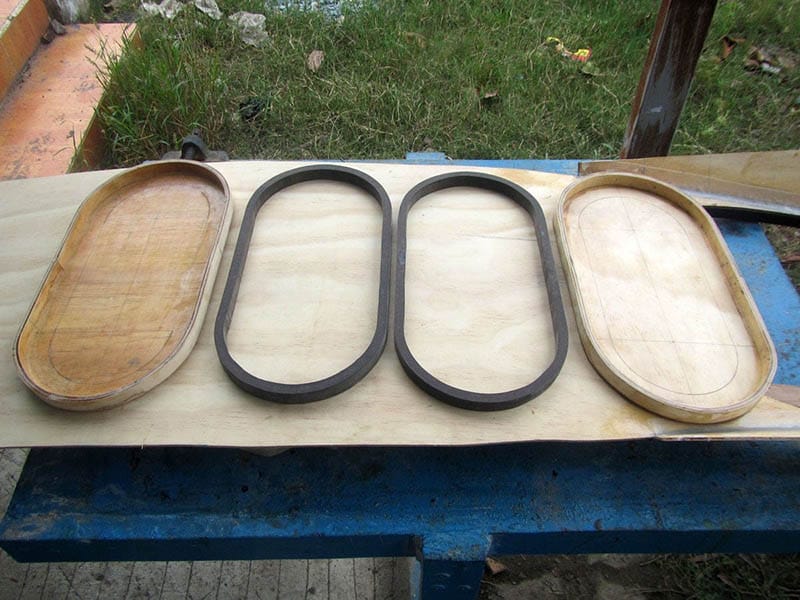
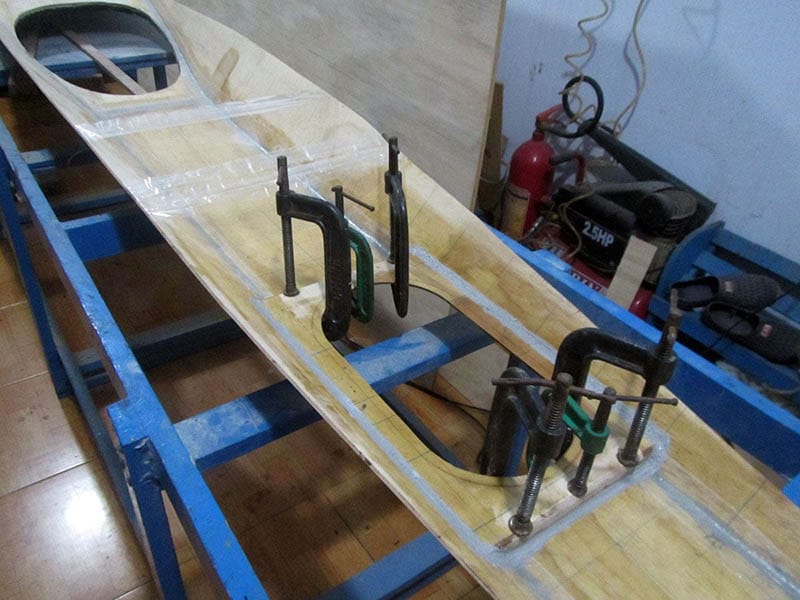
Continue working on hatches. First image: the completed two hatches (still without the gaskets inside) with the hatch rings (rounded rectangle in shape, cut from a sheet of MDF and strengthen with quite a lot of epoxy). Second image: the recessed (flush deck) forward hatch, the deck is cut 1 inch down, and about 45 cm along the length to get a wider space to install the hatch. This part of the deck is quite weak, and need to be reinforced with some putty and fiberglass inside.
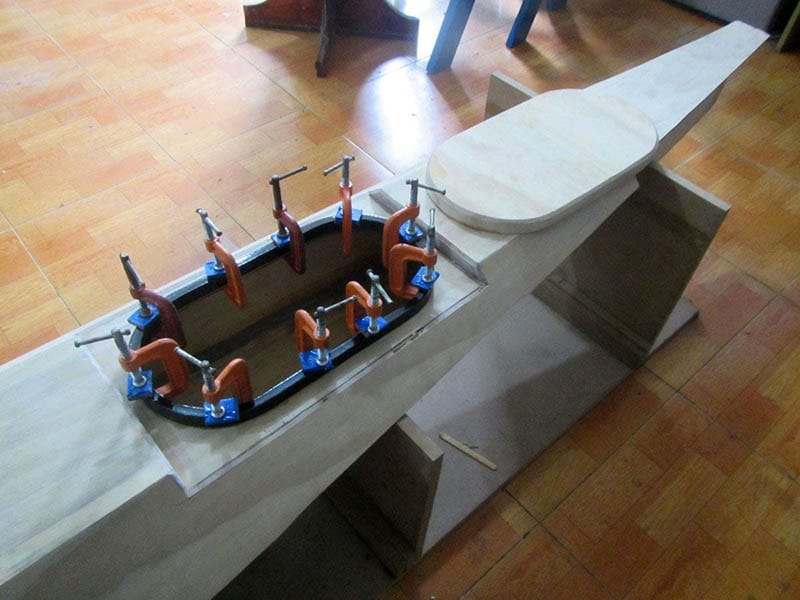
The hatches’ size look a bit small, 18 x 38 cm internal (cut out) side, but that’s sufficient to let many things through, e.g: water bottles or the tent bag, most objects are of long and narrow shapes. I intentionally try to keep the hatch size small as possible, to help with waterproofness. Third image: gluing the forward hatch ring onto the deck, the recessed base is about 1 inch lower, so that when the nearby hatch (seen on the right) is closed on, it would flush with the rest of the deck surface.
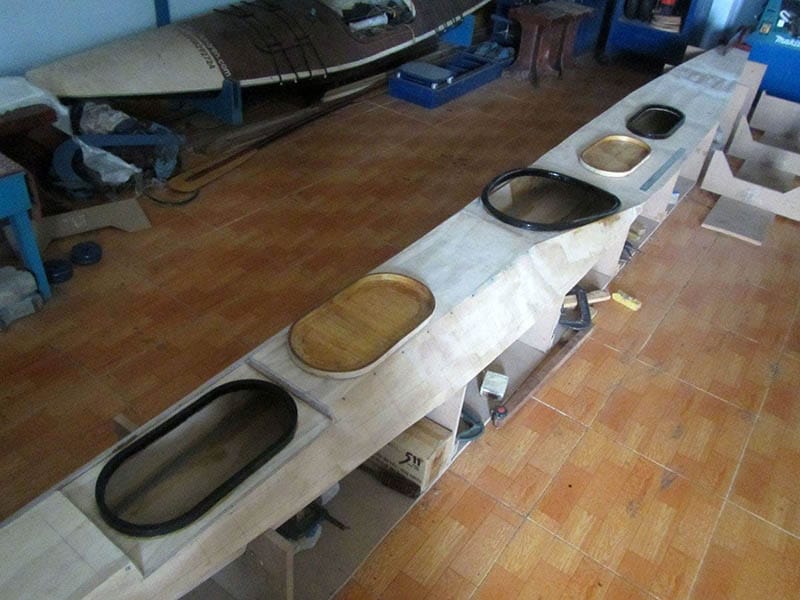
The same is done with the rear hatch (not shown here, but you can see it with the image album link on the left). Good thing is that the hatches and their rings fit together really well. Next I would round the internal side edge of the hatches’ ring a bit, cover them with a layer of glass. Completion to the very details in required indeed, in the last trip, I accidentally damaged one of my clothing bag, trying to pull it out of the cramped storage compartment over this sharp, unrounded edge.