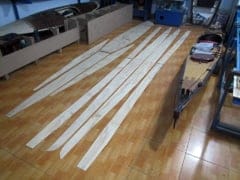
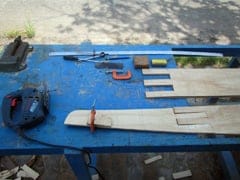
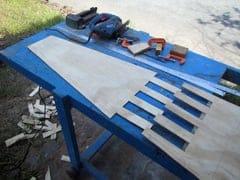
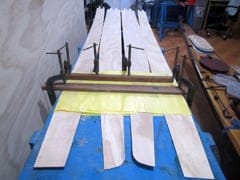
Next is jointing the plywood pieces: 8 joints for the hull, and just 1 for the deck, to form the bilges that would build up into the boat shape. For the 2 pairs of hull’s bilges, I flip one pair by 180 degree when drawing on the boards, so that to distribute the joints at different places across the boat length, and not to concentrate too much joints into one proximity. That old boatbuilding carpenter’s trick is not completely necessary with modern building techniques, but it’s nice to do so anyway.
The tried – and – true technique of straight finger joint is used as always. The straight joints are easy to cut, and most importantly much easier to be aligned following a straight line for all the jointing parts, so that to make sure all the bilges would be jointed into the correct shapes. All the joints are treated carefully, first is applying a layer of thinned epoxy (using xylene as a solvent, for the substance to penetrate deeply into the plywood), then gluing with epoxy, then a layer of glass on the internal side.
I beveled the edges of the deck parts a bit (at 45 degrees), so that they would fit tightly and nicely together forming straight seam lines. But that’s not applied to the hull, where the cursive seam lines don’t like very thin edges. Experiences from my previous boats showed that, it’s best just to use the squared edges, the thin edges doesn’t stay on each other very well, and would deform, distort the seam lines! You would later just apply thickened epoxy on both sides (in and out) of the seams!


