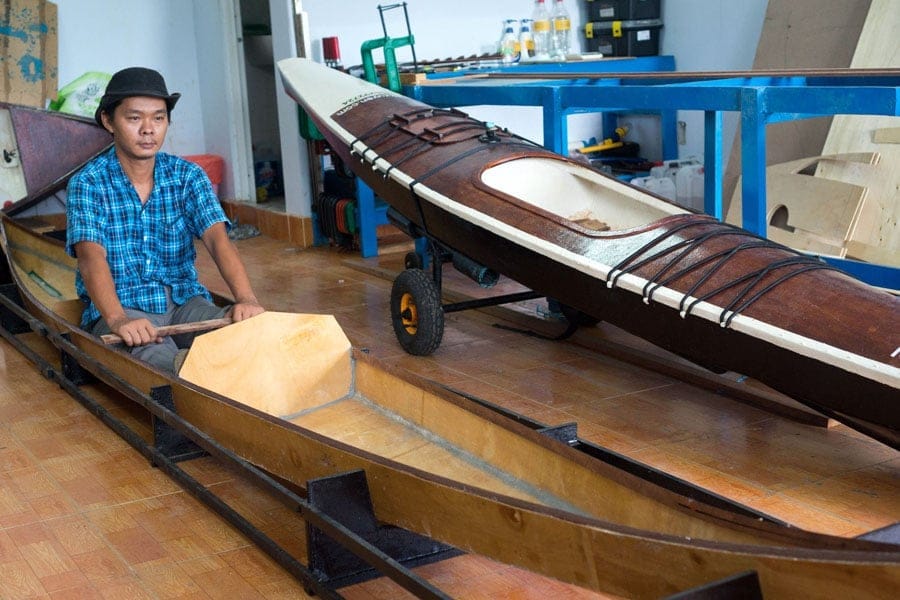
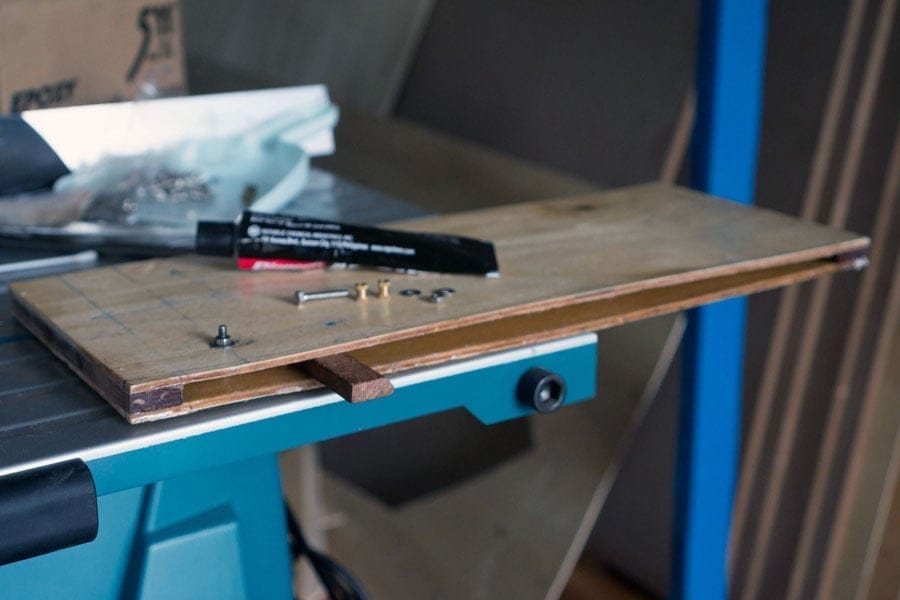
Next comes in the skeg, a critical element of any serious kayak (you can go without a rudder, but better have a skeg for troublesome water and weather). The region I go paddling is extremely muddy, mud frequently gets into the skeg box and jams it, so I need a design that is as convenient for maintenance and repair as possible. After lots of thinking, I come up with the idea of an L – shaped skeg placed in a through hull, through deck well, controlled by a line and bungee cord.
This way, cleaning up and maintenance could be done with ease. I also make an extra skeg blade, carried with the boat, so that if the main skeg brokes, it can be replaced in the field with minimum tools. This is a lesson learnt from Hello World – 2, where the skeg, though functional, it’s often jammed and can’t be controlled while you’re already on the water. This is very important since you would be going virtually nowhere with lots of weathercrocking and without a working skeg.
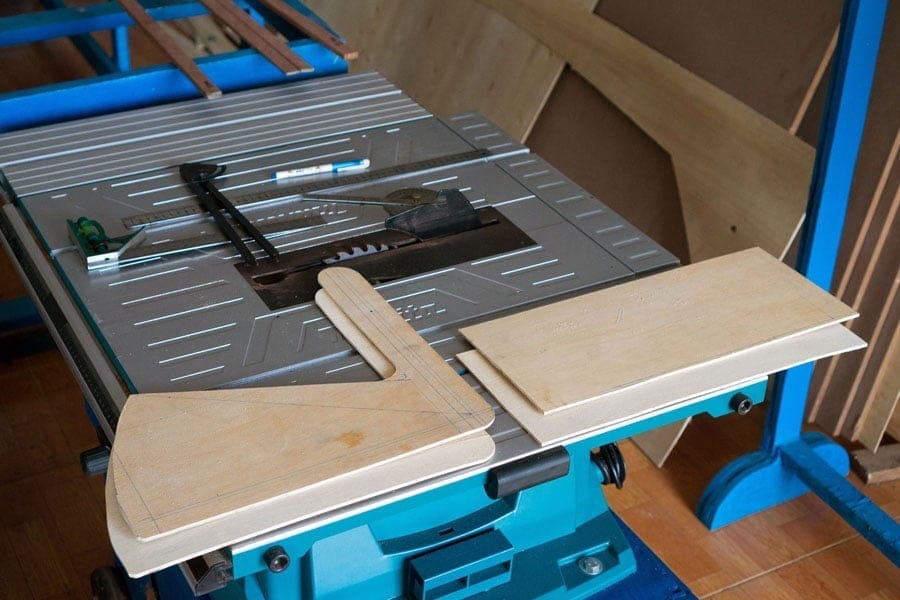
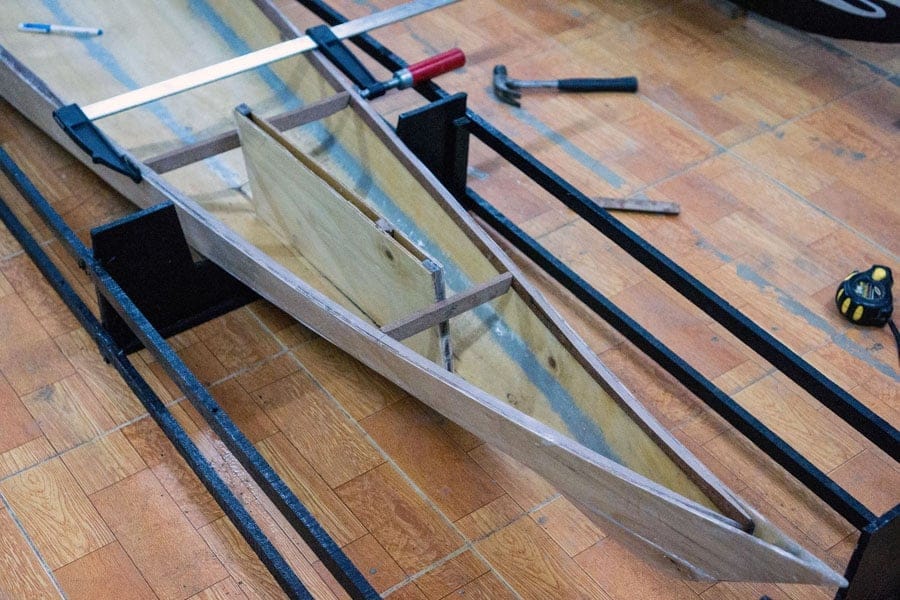
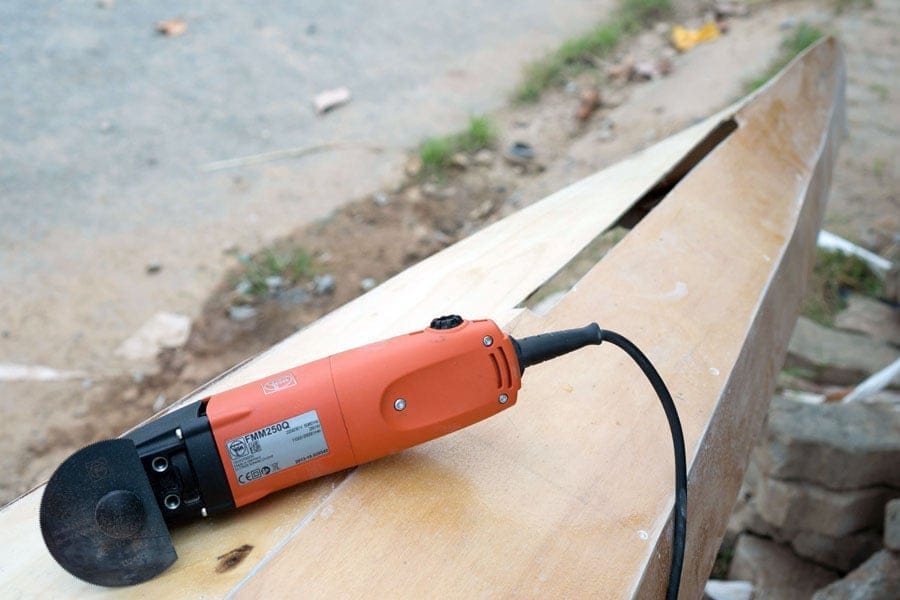
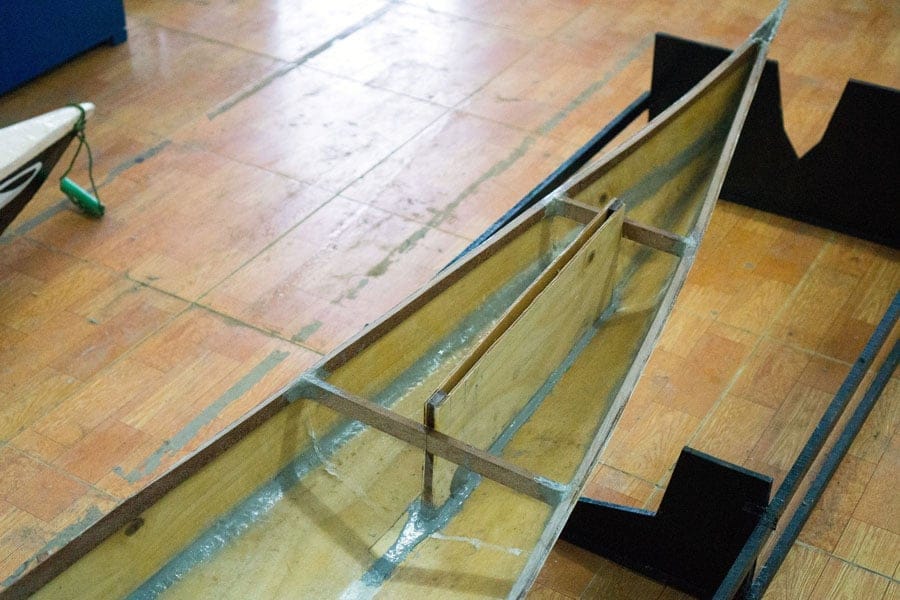
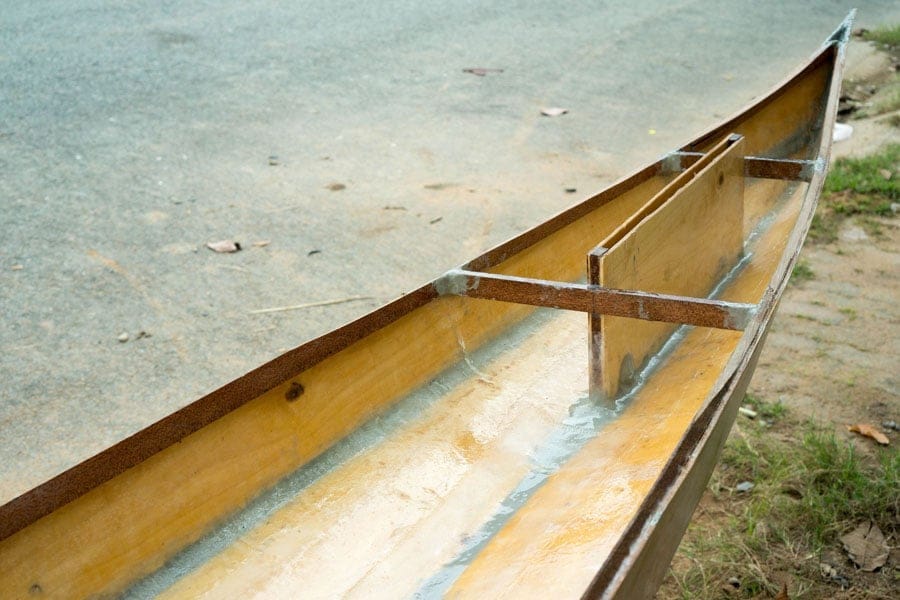
I use my MultiMaster oscillating tool to cut the slot for installing the skeg box, which does the job nicely and cleanly (the tool is my only “Made – in – Germany” one, hence expensive, the others are all made in Malaysia, China). The box will be clamped between two small thwarts bridging the port and starboard inwales. Then I putty – fill the inner joints, then apply one layer of glass over them. The harder part would be glassing the outer bottom joint, which has to be done very precisely and carefully!
I made the skeg blade extra large, approximately 16 x 38 cm, the previous one of Hello World – 2 (14 x 32 cm) didn’t seem to be large enough, the boat still “shakes” a bit in turbulent water. More over, my plan is to equip HW – 3 with some kind of sail at one point in the future, so hoping that a larger skeg would provide more lateral force to counter balance the pulling force of the wind, in a relative sense, similar to a sailboat’s centerboard, but placed much furthur aft.