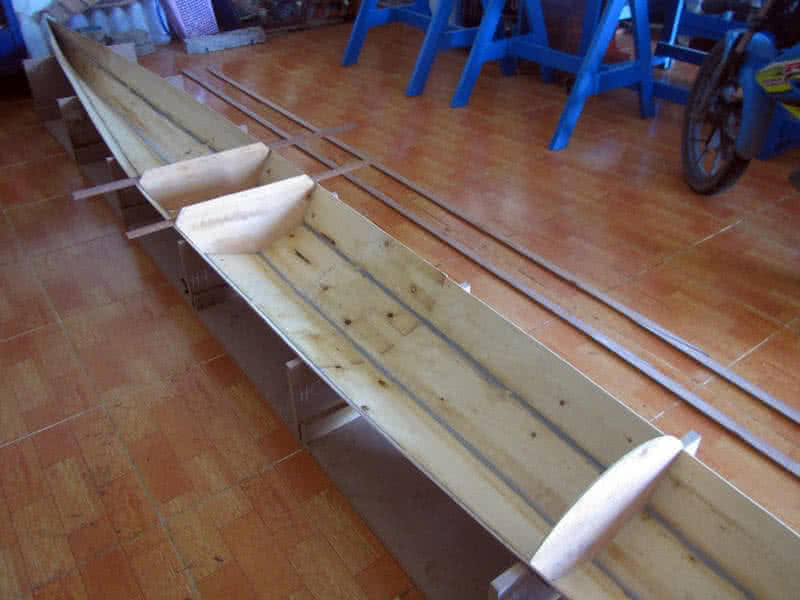
 inishing the fist step of forming the hull into shape, then filling the seams with putty and glass them with my 2 – inches fiberglass tape. The glass tape is my life saver, thanks to it helps again, that the seams could look neat and nice. To this day, I’ve acquired enough experiences and skills working with epoxy and putty already, so I’ve been able to mix the very precise (usually very small, e.g: 30 ~ 60 gr) amount required for each task.
Remember my very first days coming to boat building, working with epoxy has been a nightmare, that extremely sticky substance that messes and flows around. I have a very good feeling that everything is completely under my control in this build: the bilges fit tightly, the bulkheads fits very well, there’s no need to adjust here and there, the amount of epoxy and putty used could be estimated with quite an accuracy.
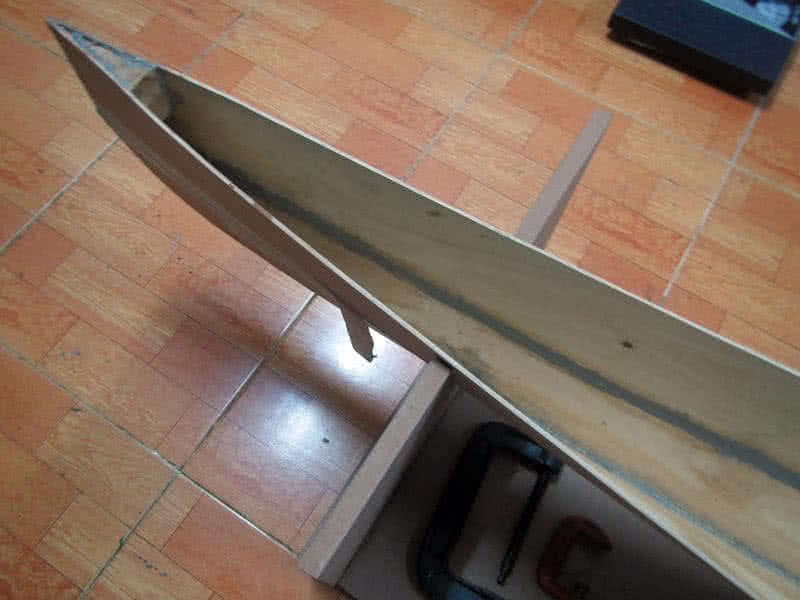
Second image: dry fitting the bulkheads, this time the cockpit would be slightly larger, to accommodate the bilge pump, and the rudder control pedals. Third image: fitting 2 prism – shape wood blocks at the two ends of the kayak, one at the bow for getting the pulling line through, and one at the stern to mount the rudder post. Again, very little epoxy and putty used, the wooden blocks add some saving to the final boat weight.
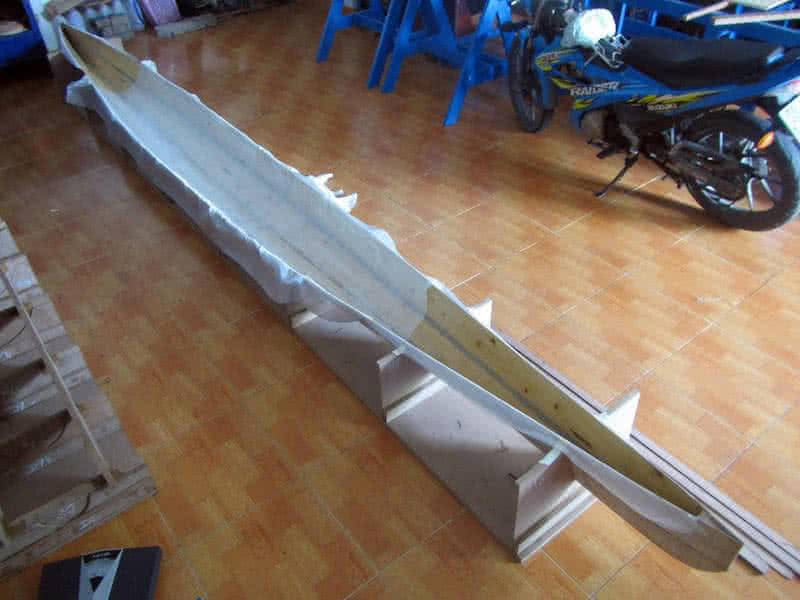
Fourth image: glassing the internal side of the hull, I’ve been thinking over and over again about this issue, do I really need to glass the hull internal side, consider the glassing seams are quite strong already. Finally, I decided to glass anyway, as my plywood is not of very good quality, it’s better to have some protection in the long run, with the cost of about 0.4 kg of epoxy (plus the fiberglass fabric) added.