serene – 2, part 37

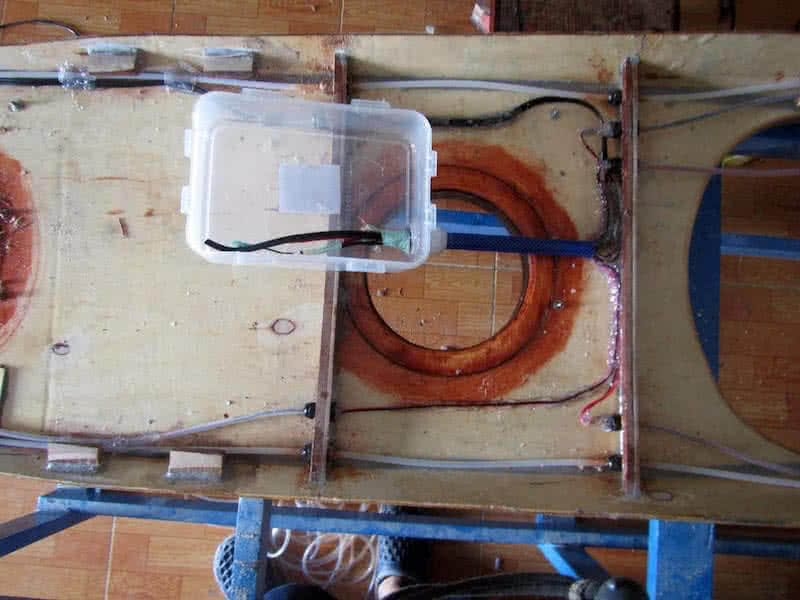
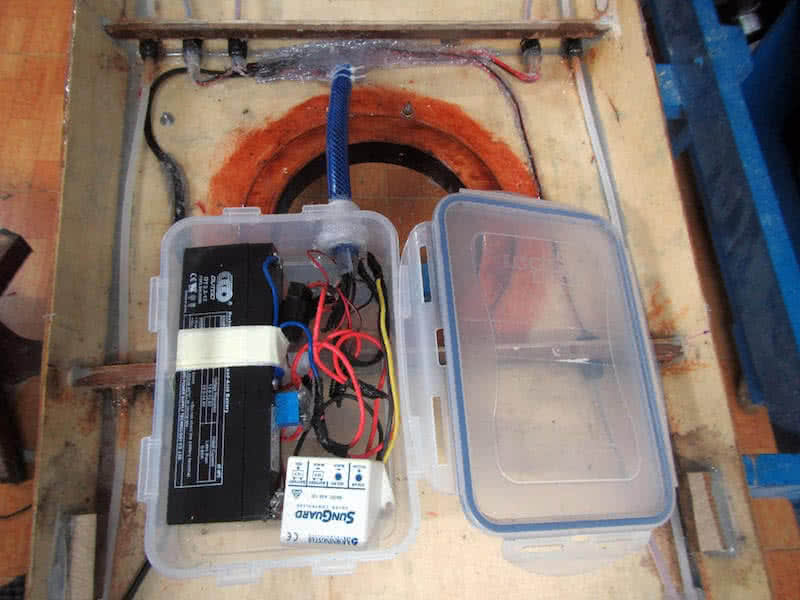
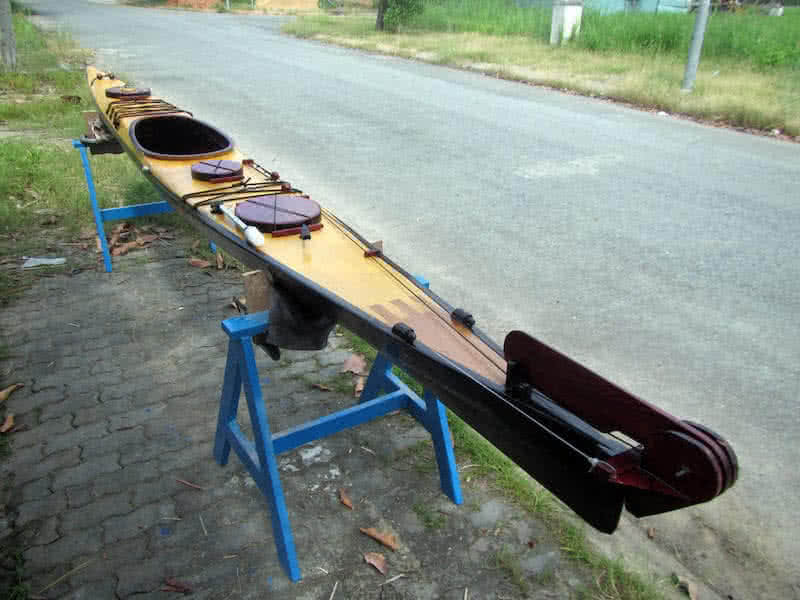
ontinue trialling my newly – built kayak with some short paddlings. The adjusted rudder pedals now work properly and smoothly. The battery system charged well, everything works as expected. One point I’ve found out is that, the SLA (Sealed Lead Acid) battery should be positioned upright for it to be charged to its maximum capacity. I was thinking about Lithium battery which is more compact, lighter, has more capacity…

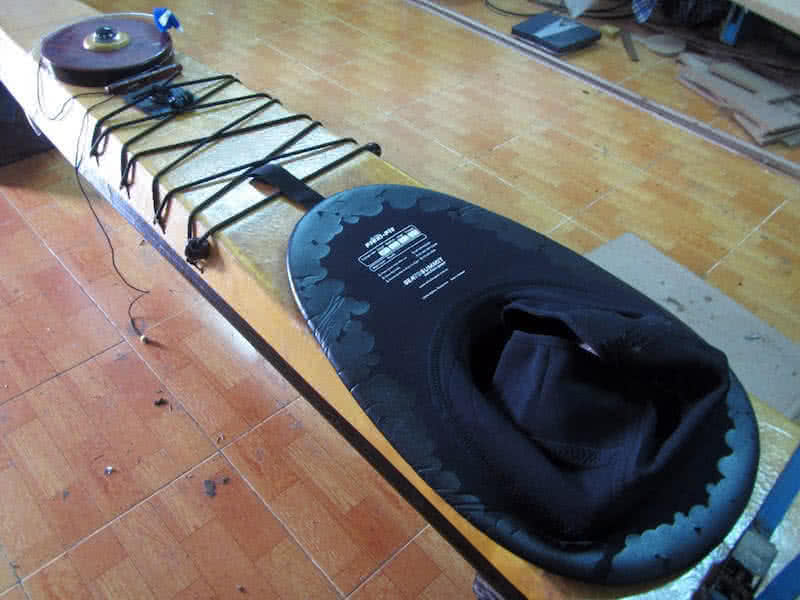
But that would be later, maybe I should deploy a system of SLA and Lithium in parallel, as the SLA could provide short – bursts of hight current (required by the bilge pump), and the Lithium could provide a lower amperage for a longer period of time. Today, the Sea – to – summit spray skirt package arrived, the all – neoprene thick skirt fits well to the cockpit coaming, it should do its job of keeping the water out well!

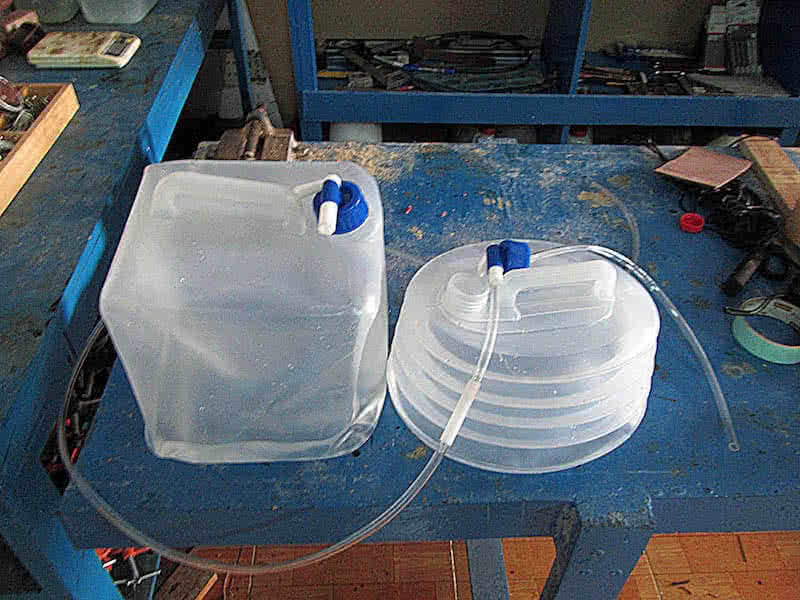
Also I’ve found out that I need to adjust the seat’s back rest a bit, it’s too high that strapping the skirt on could be a bit difficult. One important add-on to the kayak is the water drinking system. 2nd image: the 2 plastic water bags, from left to right: 10 and 8 liters respectively. The smaller oval – shaped water bag is put in the forward compartment, with a water tube running through a cable gland over the deck.

That way you can drink (suck the water out of the reservoir through the tube) without having to stop paddling. The low – lying bags would help with the boat’s stability, no more bulky water bottles needed, and the deck space would be clearer for other items of necessity. I’ve found this drinking system idea very practical, as I’ve lost quite some water bottles lashed to the bungee cords in heavy sea, when strong waves wash over the deck.

vũng tàu sailing – 4

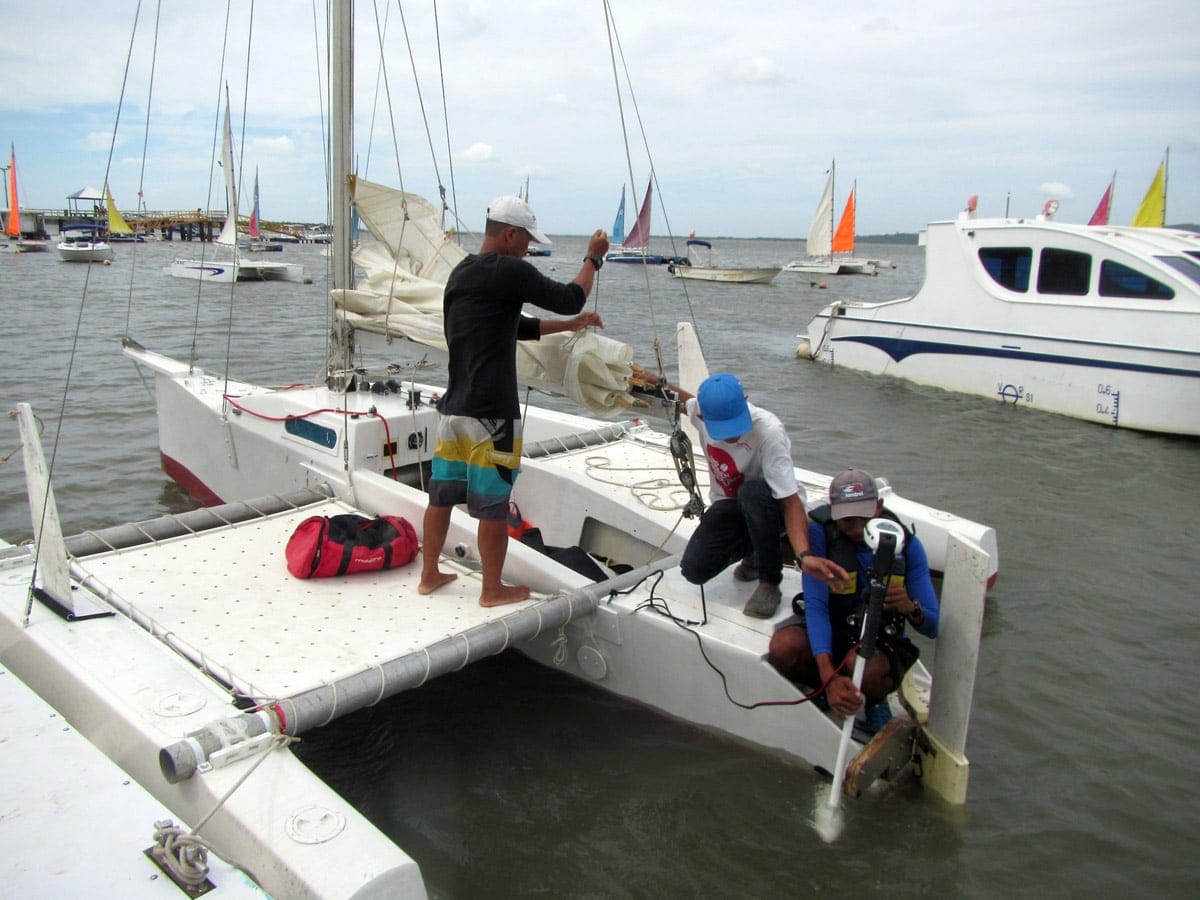
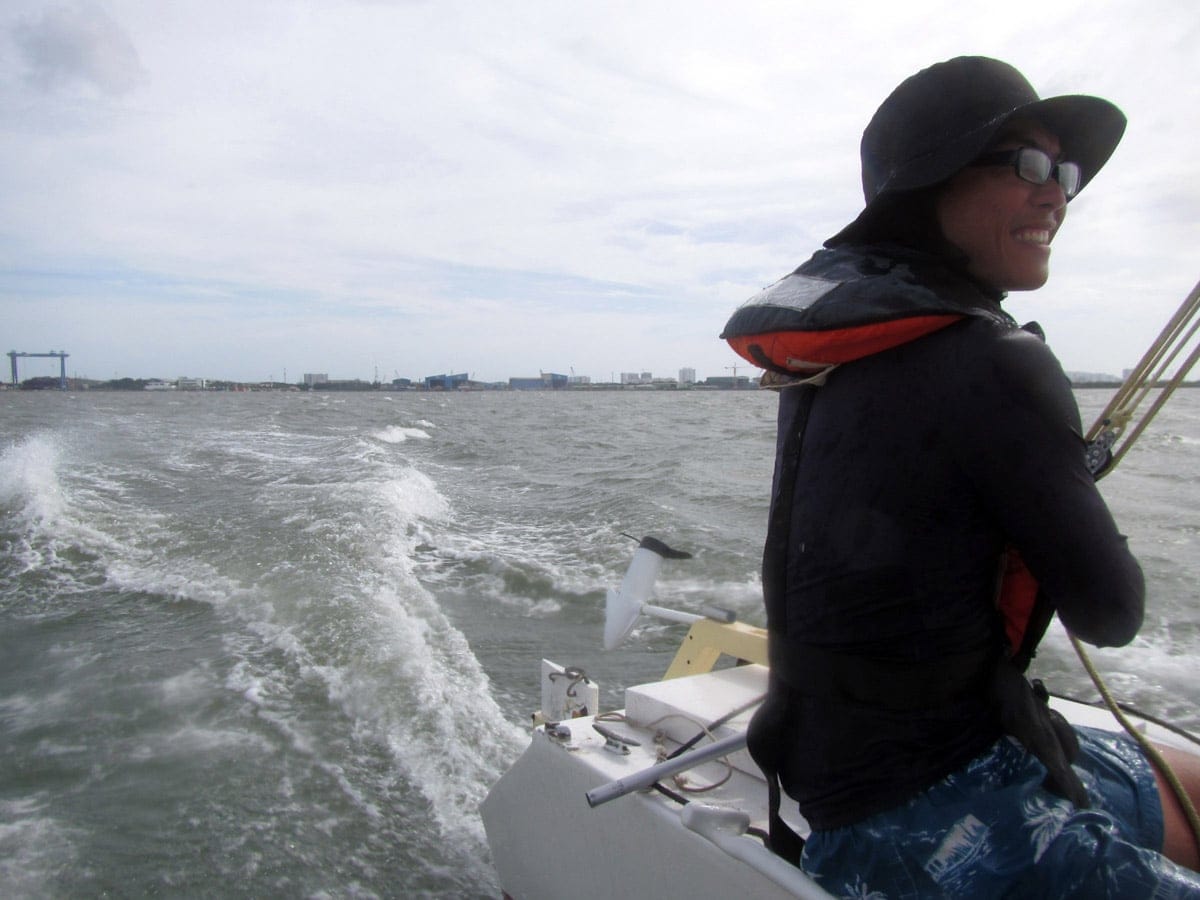
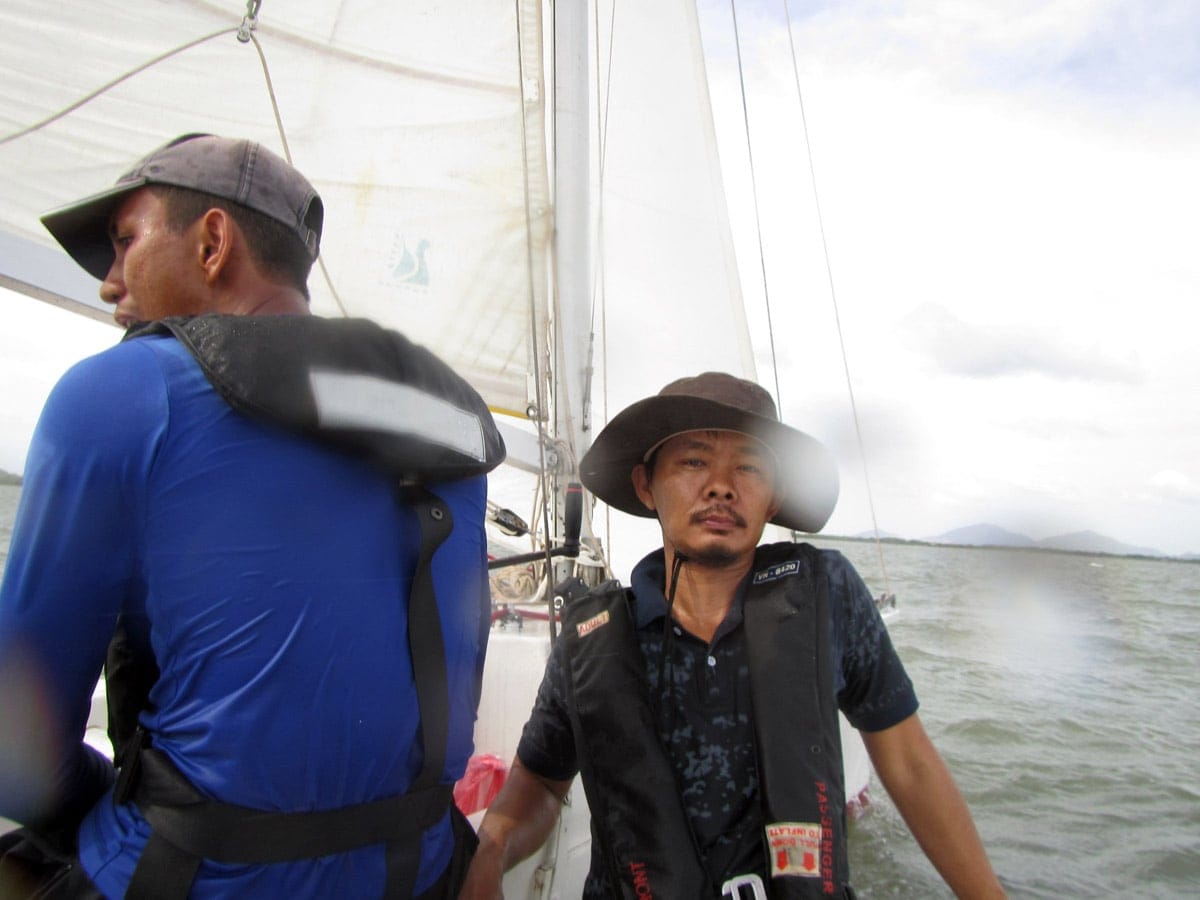
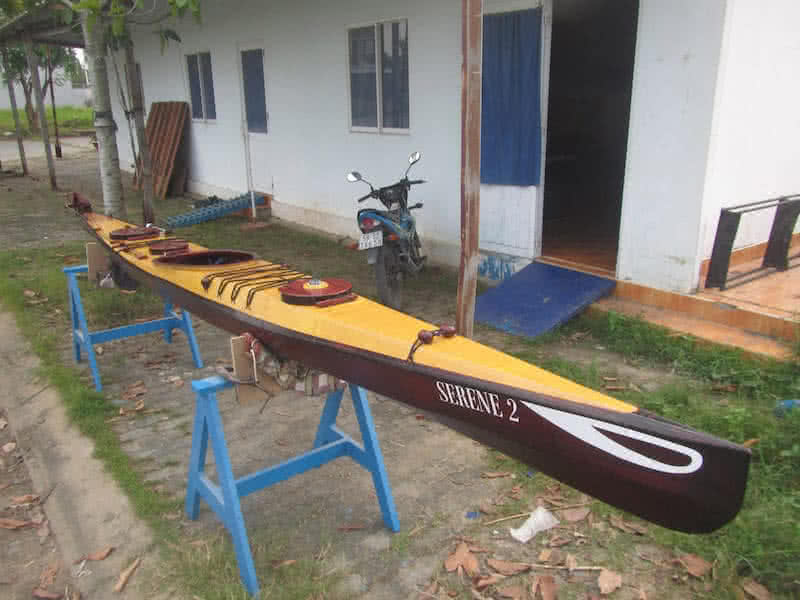
erene – 2 is almost done, but the trialling would be continued on for quite some times. Now having some free time – slots to turn to sailing, joining my “sailing comrades” again in Vũng Tàu. North winds are turning much stronger, and though we’re sailing in a somewhat protected bay, the wind gusts reach 25+ knot, and waves above 1m.

The Baba (Vietnamese word for a specie of turtle) trimaran has been overhauled for repair and being refitted, there’re some works required still on the boat. It was such a wonderful experiences, and a very wet ride, when waves wash all over the boards. Looking at the stern wake in the clip below, we were going easily at 12+ knot! 😀

serene – 2, part 36

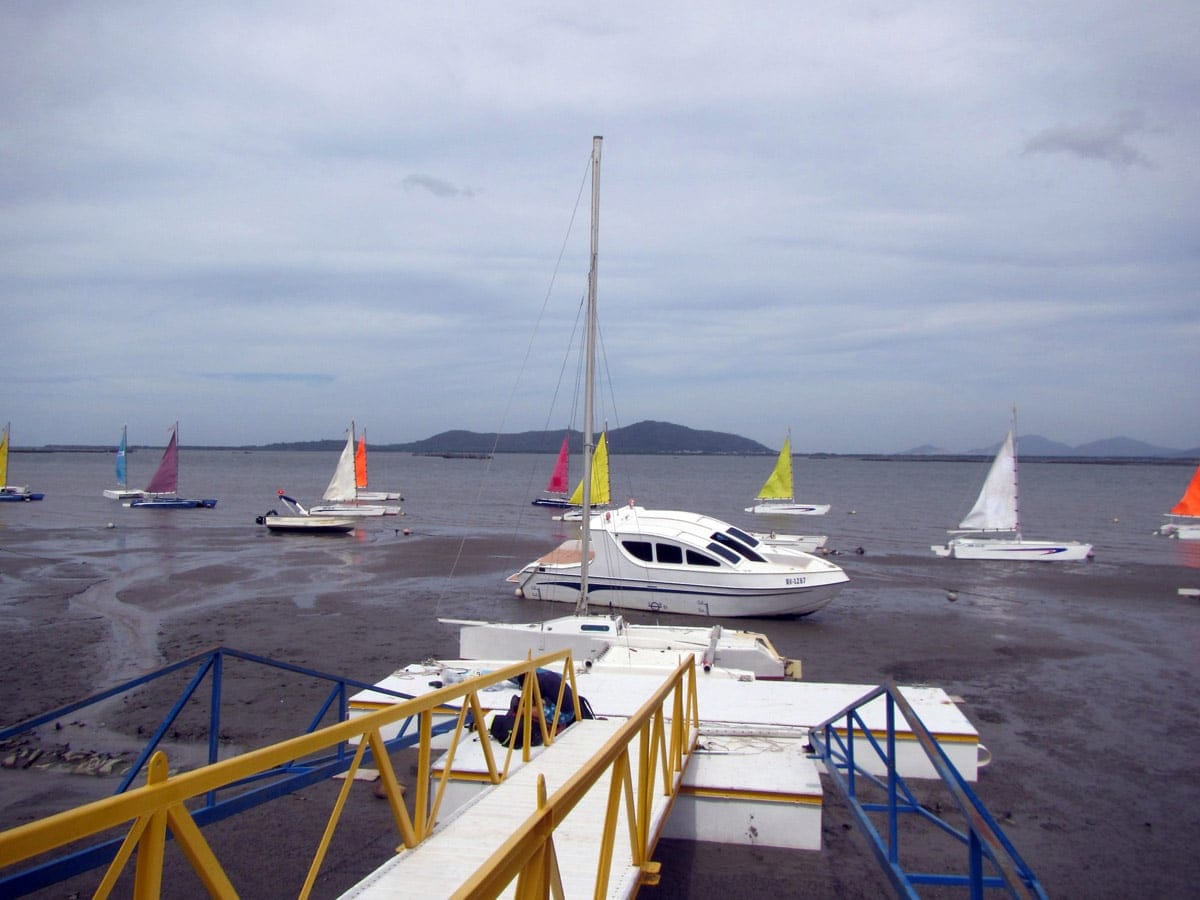
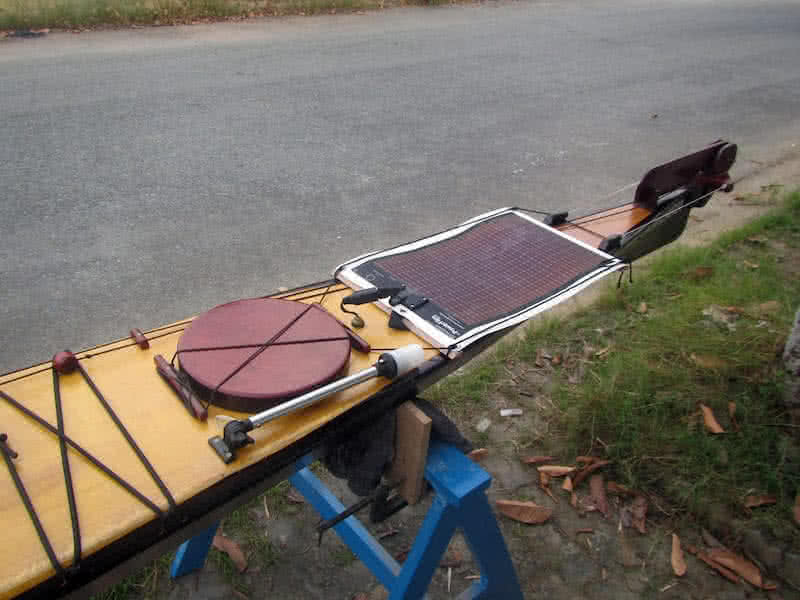
ade the first trialling of my kayak today, a short 10 km paddling just to verify if everything works! All goes smoothly, hurray! The solar panel is adding juice to the battery, could see that obviously since the lights have become more intense, and pump has become much stronger (I almost used up the battery the day before). Under this tropical sun, that wouldn’t be a hard task for the solar cells, I guess!

The rudder works nicely, the pedals could be easily kicked by my legs, changing direction instantly. The pedals movements could be improved however, to become lighter and more responsive. Every parts of the boat simply just work! And the paddles also, I’m feeling pleased with the new paddles. And for the main part, the boat itself… it feel just a bit more stable (that’s what I was expecting for), but the hull now tracks much better!

It could go quite straight even without the rudder deployed. The feeling that the shorter boat is very steady, and could possibly go faster compared to my previous Serene – 1 kayak. Though the LOA (length over all) of Serene – 2 is shorter, its LWL (length waterline) is pretty much the same. The higher free board makes climbing into the boat a bit more difficult, but that’s not a problem, cause the cockpit now is a bit larger.

The slightly higher free board is very important, it should keep water out of the deck for many of the times, and hence waves shouldn’t threaten flooding the hatches much. My overall feeling is very pleasing, for those months of efforts put into the watercraft! 😀 But 10 km is too short, I need to trial the new kayak more, and record the routes by my Garmin, to really evaluate the boat’s performances in precise numbers.

serene – 2, part 35

ticking the vinyl decal decorations is among the last steps that complete the kayak. Since the deck spaces are almost used up for various accessories, the boat names and owner’s informations go onto the port and starboard sides instead, and the boat eyes intrinsic for any Vietnamese boat of course! The solar panel is tied on the aft deck, stretched with two short wooden spars, and lines through its grommets.

There’re some more items to be built or fitted for this kayak: the seat, the carriage for transporting the boat. I would rebuild my previous carriage, reuse the 2 wheels, but build it lighter and smaller, to easier carry it on the aft deck. The seat and back rest are also important parts, but those would be postponed to a later phase of the project. Also, I’m still waiting for my spray skirt to be shipped from Amazon.

After sticking the vinyl decal decorations, the bottom receives additional 2 layers of transparent PU paint, making them 3 layers in total for the bottom (the deck only received 2 layers), protecting the vinyls. The handle line pulling through a hole drilled at the bow (with a wooden block inside) is just a simple hang – man knot, the kayak has no handle at the stern, since the rudder has taken up all the space.

It’s so good a feeling to see the boat completed! Looking back on the building progress, there’re still things that I’m not really pleased with, in building quality, in the look & feel, in equipments… But I believe this is my best boat so far, accommodating various small design changes that I’ve found neccessary from my paddling experiences. I should start trialling the kayak soon, to see how she would behave on water! 😀

serene – 2, part 34

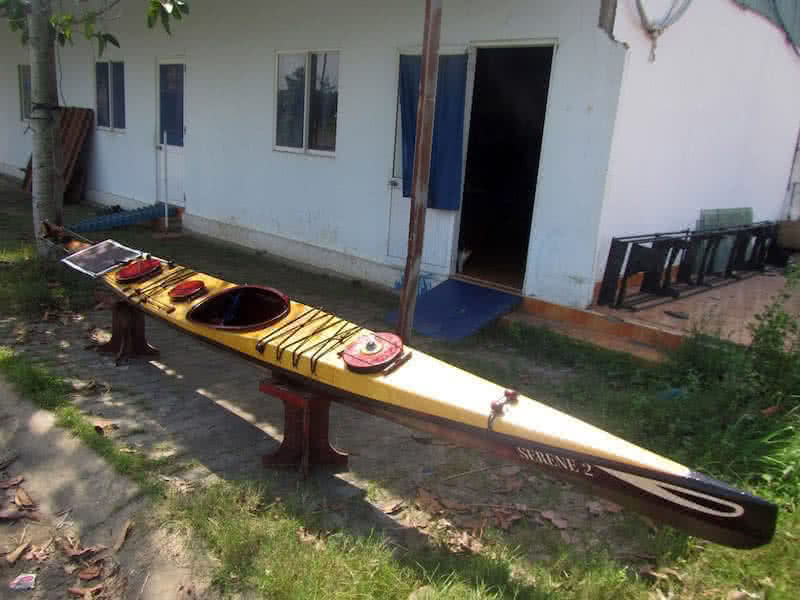
he bilge pump is a critical component of this Serene – 2 kayak. Empty out a flooded boat, or simply make your seat less wet, it gives you lots of confidence and convenience on long paddling trips. Today, I installed the bilge pump with its water hose (through a hole drilled on the port side). Electrical wires are connected and carefully sealed inside plastic tubes with silicone glue to make them really waterproof.

I wouldn’t want the whole system to collapse just because of one leaked electrical wire (anyhow, there’s still the fuse in case of a power surge, e.g: short circuit somewhere). Watch the short video below to see how the bilge pump works, it’s just so great! 😀 I would just move a wooden knob (the reed switch), and the water jumps out! The small “buzz, buzz” vibrating sound of the bilge pump is so fascinating!

One problem, however, due to the very deep V – bottom of the kayak, some small amount of water remains still at the bottom which could not be sucked out by the pump. That’s not a big problem anyhow, cause I would install a seat that raises me a few centimeters higher on the floor, and wouldn’t make my pant soaking wet. In the video, the water flow doesn’t look very strong, since the battery is already running low.

I would make more thorough testings to see how the whole system works in combination: battery, solar panel, lights, and bilge pump! But I would wait until the 12V battery “fuel gauge” shipped from Amazon, so that I can have exact measures on the battery usage, how many times it could pump out a boatful of water. It’s important to understand how your system works, so that you could make good uses of them on longer journeys!

serene – 2, part 33

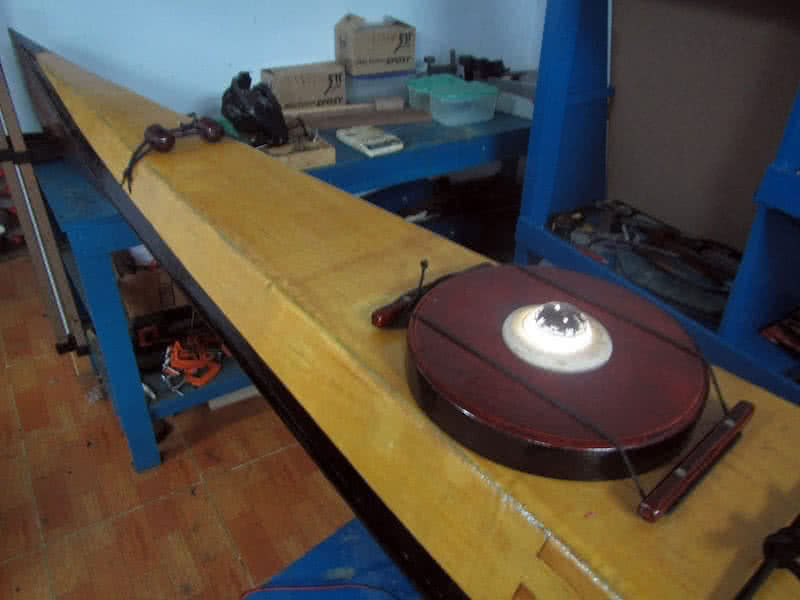
ectified one problem with the signal light, the bulb is too greedy, it eats up a lot of electricity and could potentially burn up the reed switch (I’ve noticed the reed switch has malfunctioned sometimes due to the high current). So I replace the bulb with 8 small white LEDs (1 Watt each). Some more soldering work, but finally it’s done, equally bright, but less power consumed, and safer for the switch.

Today, I installed and tested the rudder system. First is the two cable lines used to pull the rudder up and down. The 2 lines run back to the cockpit and are attached to 2 small wooden balls, with a short segment of bungee cord. Third image: the wooden balls and bungee cord. The bungee serves as a shock cord, in case the rudder should collide with some thing and kicked back, so that no damage would be done to the whole system.

One simple rule to operate the pull up / down lines: grab the ball that is further from the cockpit and pull it. Well, it sounds pretty simple, but useful enough, when in action, you just don’t have to think over and over again: which line is up, and which line is down! 😀 The two rudder control lines run back to inside the cockpit where they’re attached to the pedals via 2 small wooden jam cleats to adjust the lines’ tension.

All works well, but the pedal motions are not really smooth, because the bungee cords are not strong enough to pull the pedals back (once one pedal is kicked, I would just have to kick the other pedal to balance the rudder). But I would just leave them as they are for now, as they’re working already, would consider replacing the bungees with stronger ones (or revise the design a bit) later on.

serene – 2, part 32

he hull is painted with 2 layers of transparent PU paint. In this tropical weather, paint dries so fast, after about 3 or 4 hours, I can start the various deck fittings: mounting the forward hatch with compass on top (and compass light). The electric wires (housing inside a plastic tube) supplying power to the compass light also serves as a holding line, just in the rare case that the hatch could fall out.

The signal light is done the same way, connect the electric wires, seal them inside tube with silicone glue, test if the reed switch work. Until now, all 3 reed switches works well, I shouldn’t worry much about them, as reed switches, though tiny in size (less than 3 mm in diameter), are in fact very durable (rated at 100 000 times of turning on / off). In the silent night, I can hear the click, click sound of them turning on / off 😀.

Fitting the bungee cords is quite straight forward. The anchor points (made from wood) work well enough, I just pull a thread through easily, don’t have to “prime” with a small steel wire like before. The forward bungee cords also run through 2 wooden blocks (see the third image), each house a magnet inside. I use the NdFeB (rare earth) magnets, which are really strong, they could turn on the reed switch 2 or 3 cm away.

Next, I would fit the rudder pedals, run the rudder control lines and see how all things works. Then comes the bilge pump, with the water hose, then the solar panel. The ugly thing is that you just don’t know how much power left in your battery, or if the solar panel is doing its job. So I ordered a “12V battery fuel gauge” from Amazon to read out the current capacity of my SLA battery. Below: a short video to show how the reed switches work!

serene – 2, part 31

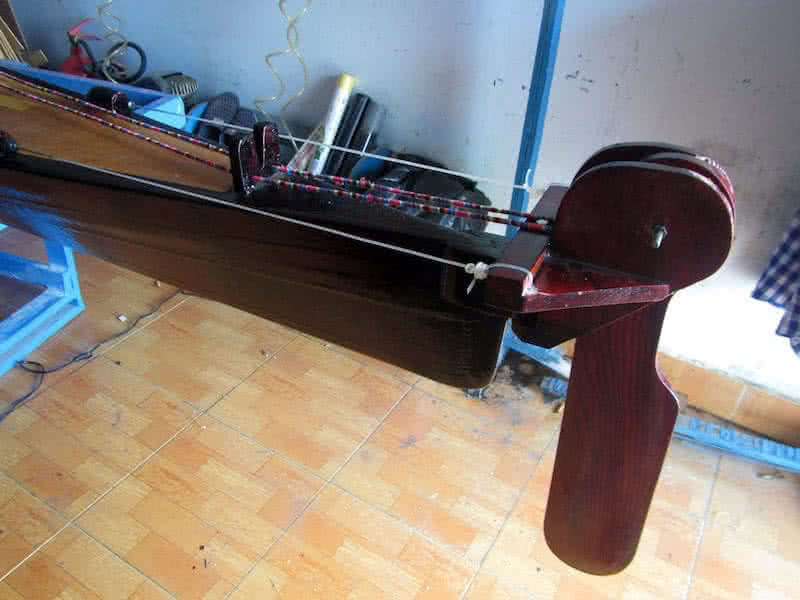
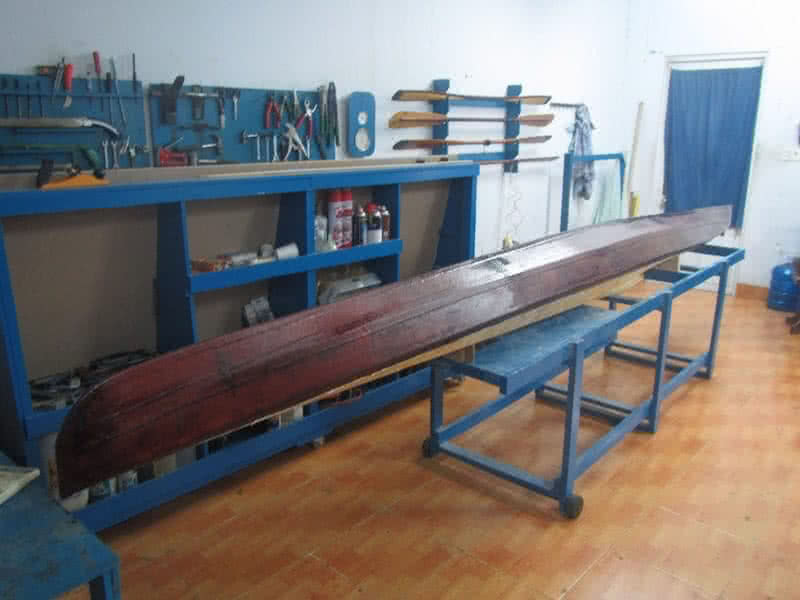
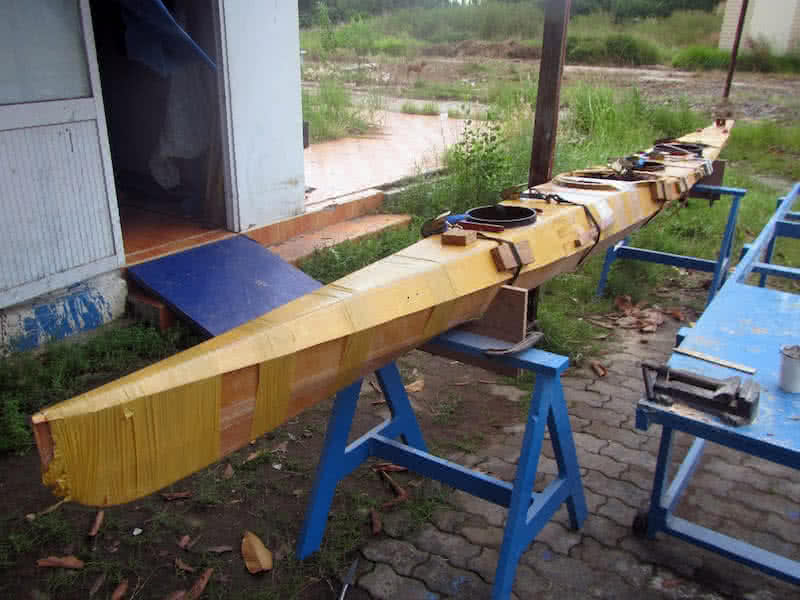
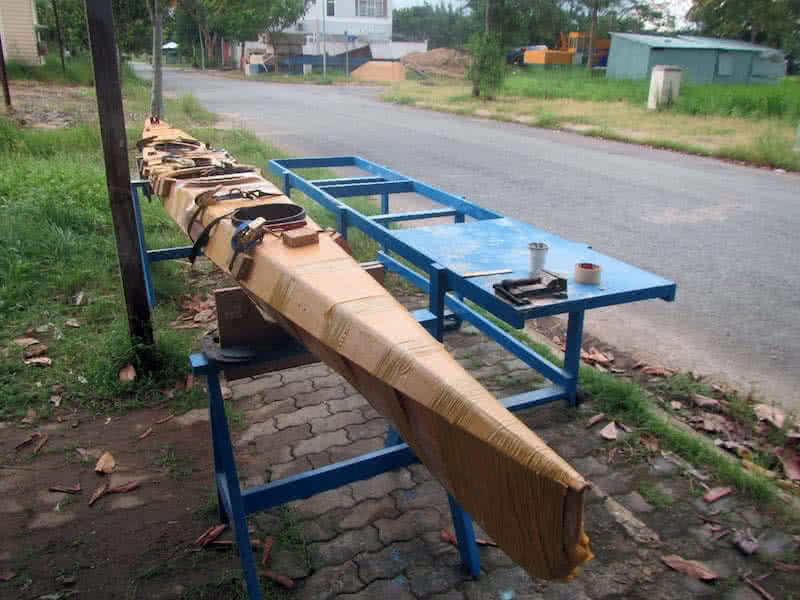
fter joining the hull and deck, the hull receives its final bottom glassing. The fiber fabric would overlap the deck about an inch, to better seal the joint. One little trick to make a clean, tidy line at the painting (or epoxy) boundary: mask the area to paint (or to fill with epoxy) with duct tape. Prior to applying (colored) paint or epoxy, brush the duct tape with a very thin layer of transparent paint (or epoxy).

Wait for the paint (or epoxy) to cure, than apply the (colored) paint (or epoxy). That way, the colored paint (or epoxy) won’t leak through the duct tape, cause no matter how good the duct tape is, paint (or epoxy) would leak through, causing a blurry, untidy line. Second image: masking with duct tape, prepare for glassing the hull. I run out of my fiberglass fabric roll after this task, also use up the last drop of epoxy! 😀

The hull glassing receives an additional layer of fill coat, then another layer of epoxy at the 3 seams, then a slight sanding. I don’t sand much, just at some rough places. The color scheme for this kayak is also brown / yellow like my previous two boats, but this time, the colors would be much lighter. Next would goes in the vinyl decal decorations, then varnishing the whole hull and deck with transparent PU paint.

Since the deck’s space is used up for the 3 hatches, the bungee cords, the signal light and solar panel, and other accessories, all decorations would go to port and starboard sides: the boat eyes, boat name, and owner’s information! There’re many many other unnamed tasks required still to finish the boat, so I won’t hope to complete it until next week. However, the kayak would see water and start its trial paddling very soon!

serene – 2, part 30

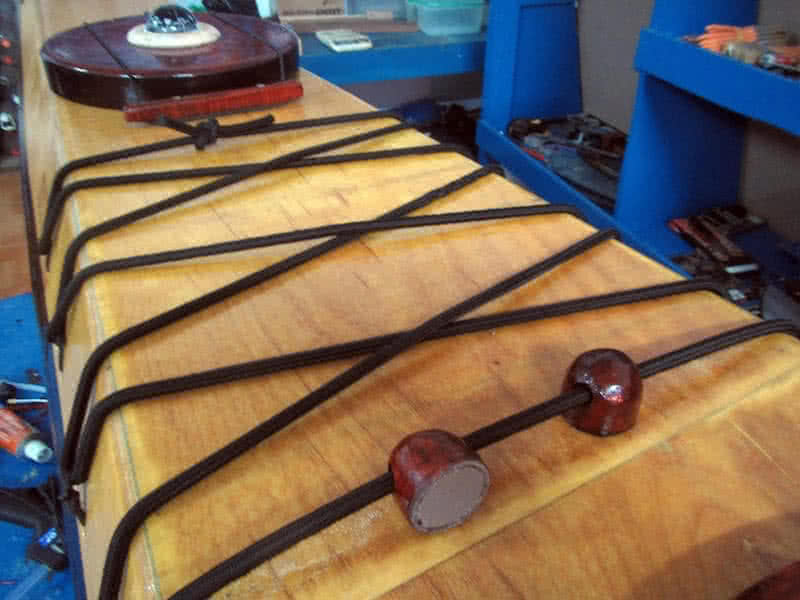
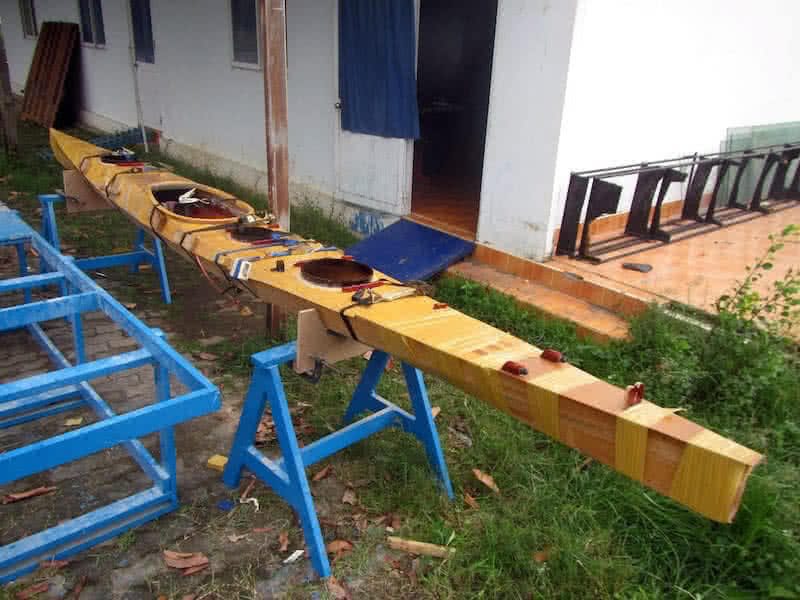
t’s time to join the hull and deck, and now the boat takes its final shape 😀! The gunwales are bevelled differently along their length to better accommodate the deck, paste some putty on the bevelled edges, then I press the hull and deck together, like the two halves of a peanut shell. 😀 Everything goes on quite smoothly, the bow and aft parts fit very well, just use some duct tapes to press them together.

In the middle part, there are some small gaps (about 3, 4 millimeters), so I need to fasten them with some cables. The bulkheads fit really well, firmly holding the deck and hull. To maximize the boat waterproof capability, I carefully fill the internal seams with some more putty at places which are still accessible by my arms. The whole thing is left overnight for the putty to set, permanently forming the boat shape!

The next morning, I carefully trim the deck part. Since the deck is cut oversized, it’s slightly larger than the hull, it need to be trimmed down to match the hull, apply some more putty here and there to fill some remaining gaps, then round the seams (the external sides) in preparation for glassing the hull. Months of preparation, consideration and hard works has finally “culminated” into a seeable, touchable object! 😀

It seems that, at this point, the boat would be able to see water in no time. But actually, there’re lots of works ahead: glassing the hull, install the rudder, rudder control lines and pedals, fitting the bilge pump and signal light, sticking the vinyl decorations (text and boat eyes), fitting the compass and all those bungee cords, various other accessories, etc… and finally varnishing the whole thing with transparent PU paint.

serene – 2, part 29

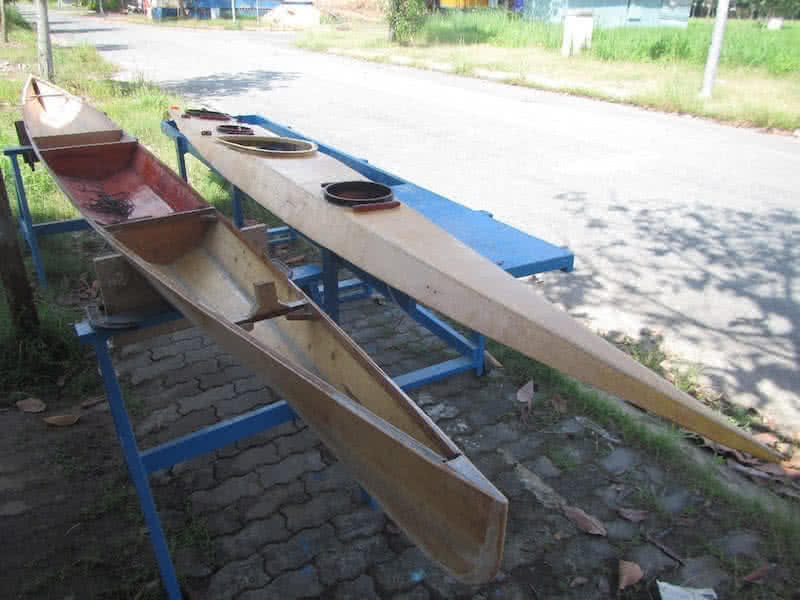
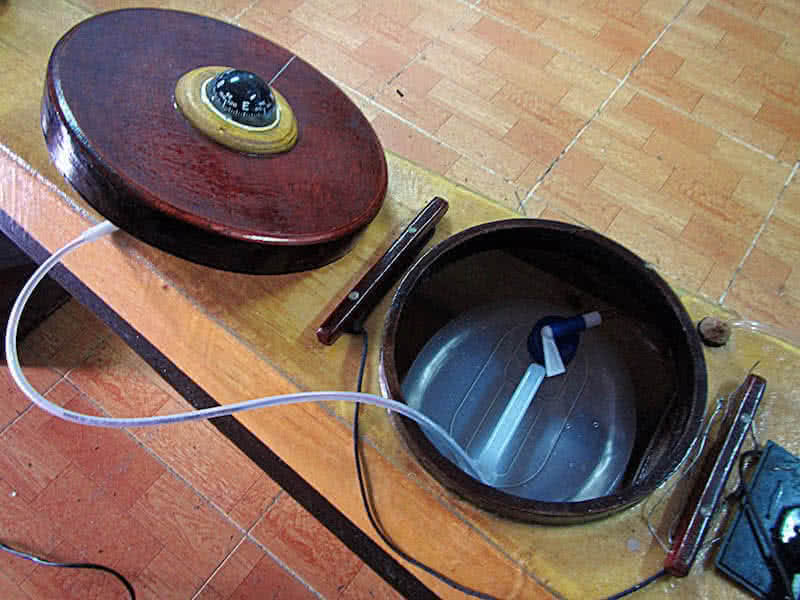
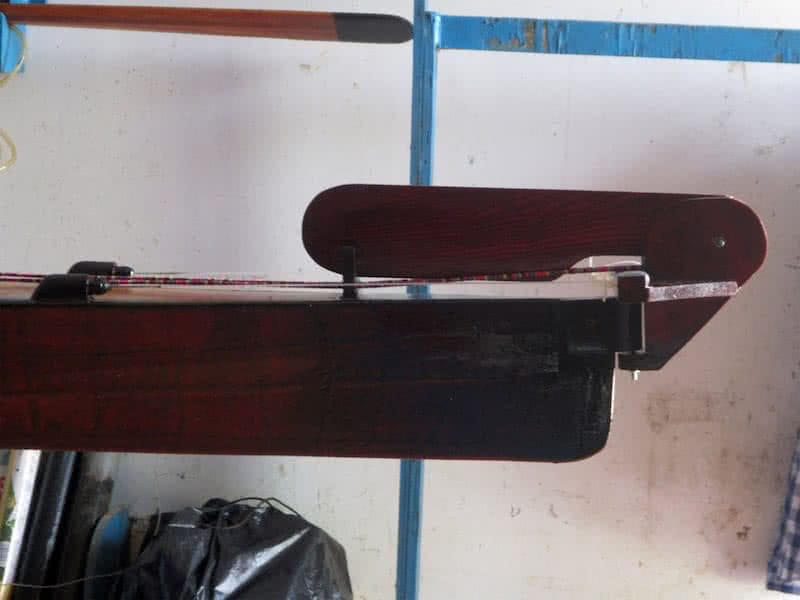
inished all electrical wiring and device testing. It looks simple, but actually, for me, there were lots of works. First is to figure out how the relay pins work. First image: I noted down the wiring diagram of a relay, the 2 pins on the right, one is NO (normally opened) and one is NC (normally closed). The middle pin on the left (the common pin) supplies power to the targeted devices (here is the compass light, just for testing).

The two other pins supply power to the relay itself, when powered on (decided by the reed switch), the relay switches from NC to NO position, hence supplying power to the compass light. All wirings runs back to a central point: the plastic waterproof wiring box, which houses the battery, the solar charge controller, the relay… It took me some times to install all in the box, connect the correct wires, check if everything works!

The PowerFilm solar panel shipped with a long water proof detachable cable, so I run the cable from the central compartment to further aft where the solar panel would be located. This cable runs through a cable gland to exit the deck, ended with a waterproof connecter. It’s not very nice to always have this connector on deck, but it’s convenient to disconnect the solar panel and stored away when it’s not in need.

There would be another waterproof box (connected to this wiring box which would be rarely opened) which houses the 12V – to – USB and the 12V – to – AA charger, which could be usually opened to put your various devices in for charging (iPhone, VHF radio…) But that would be in another later phase of the project. It now time to joint the hull and deck parts together to form the final boat shape! 😀