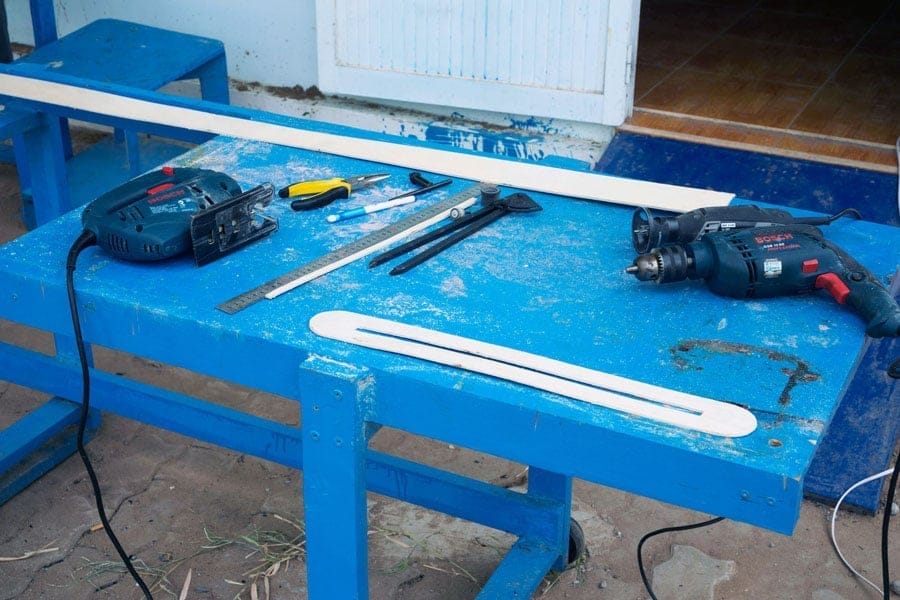
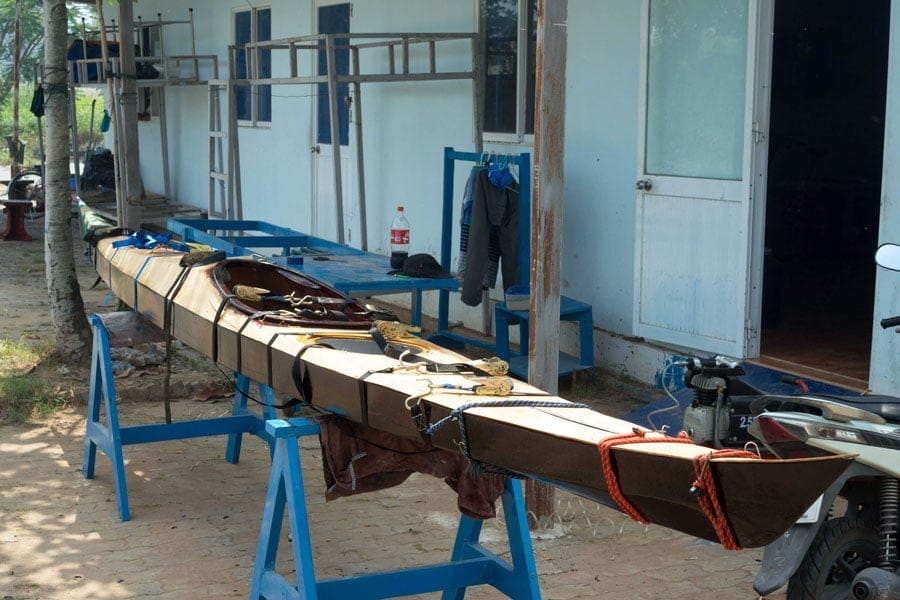
 oining the hull and deck, now comes the time the boat “transforms” into its final shape! 😀 I used lots of fastening lines to press fitting the two halves, after sticking some putty along the inwales. The B5 epoxy mentioned earlier is very slow in curing, so I had plenty of time to work on the joining. The bow fits perfectly, I could just use some duct tapes to hold the deck down. Toward the stern is not as good, and I had to use the compress – air gun to help nailing together the two parts.
The mast base sticks well to the cross – shape structure underneath, now wait for several hours for the putty to harden. The bevelled inwales make small “gutters” with the deck, I utilize this fact to slant the boat a bit, then use a small medical syringe to pump epoxy along, the epoxy flows and fills the remaining gap, securing a tight fit. Then I erect the boat upright and pour epoxy into the two ends. Next would be glueing the bulkheads to deck, that would finalize the hull & deck linkage.
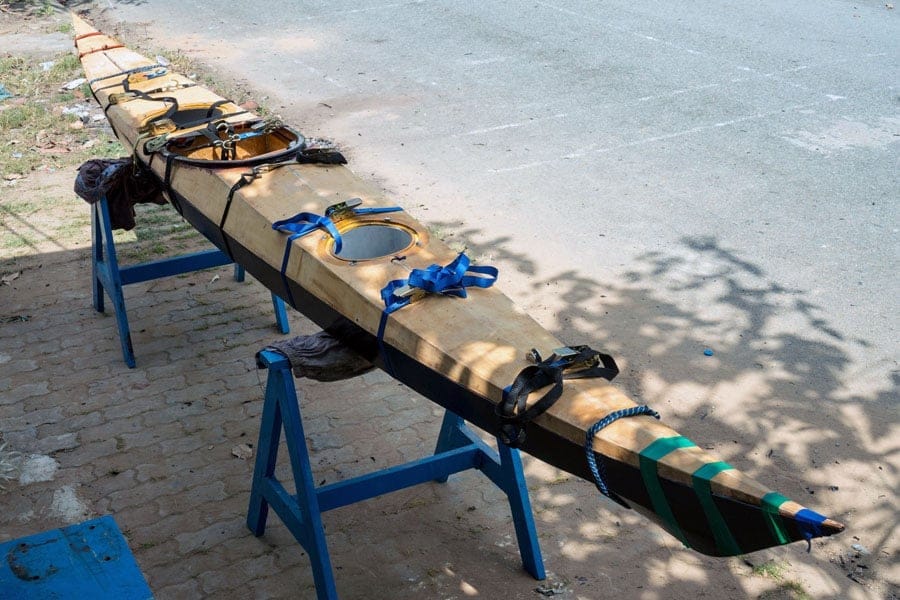
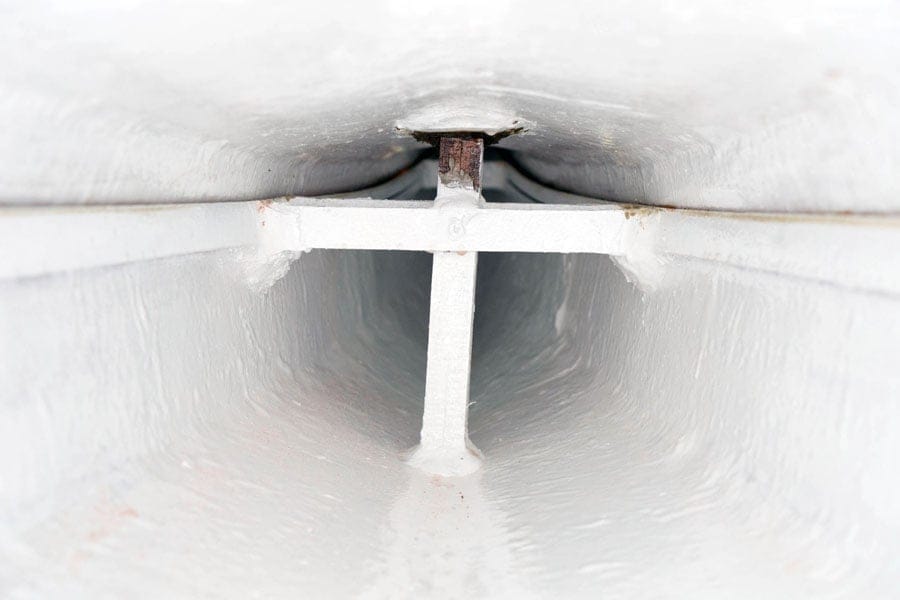
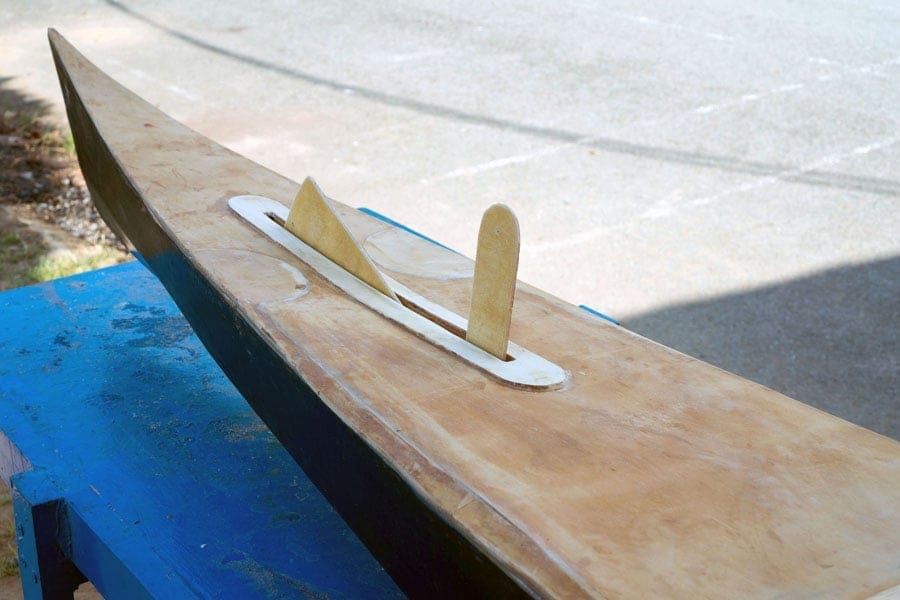
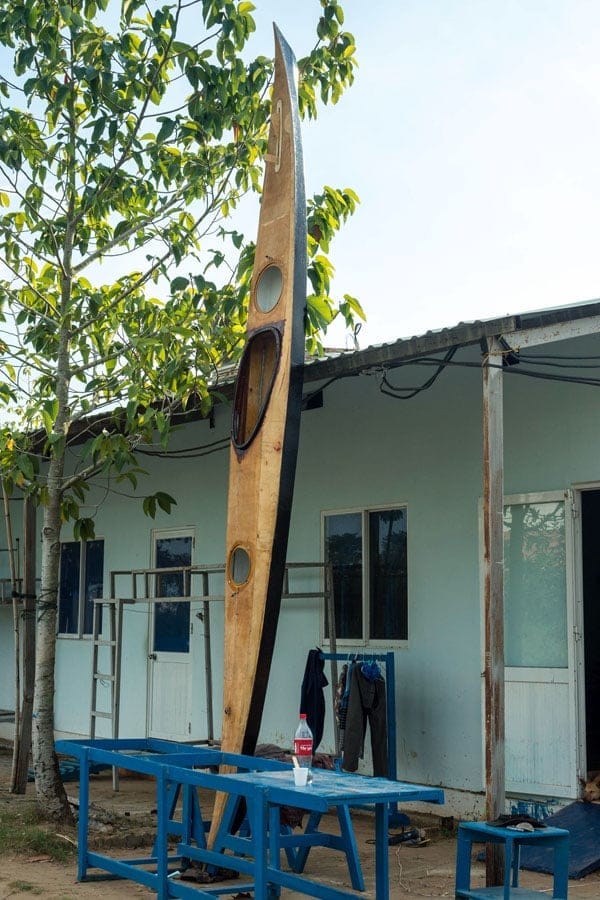
Look at the last image below, the boat has not taken on its final appearance yet, but the shape looks so gorgeous, doesn’t it!? 😀 A long, slender shape that promises greater velocity and reduced paddling effort. Also, I finished the skeg box installation by glueing it to the deck. In the 6th image, you can see the through hull, through deck well housing the skeg blade, which will be controlled by a bungee cord tied to the stern, and a paracord line toward the cockpit.
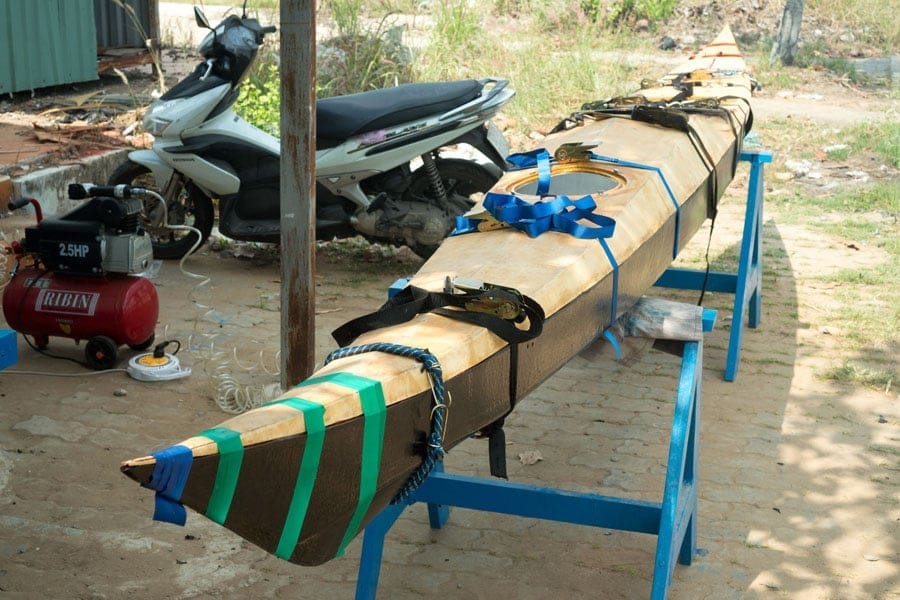
Weight once again exceed my initial estimation, it’s a bit heavy now, but if it stays under 30 kg, that would be fine for me. I would go with a sturdy boat on long journeys, rather than a light, but fragile one. The boat is almost operational at this stage, just install the skeg and it’s ready to go! Well, to be precise, it’s just ready for some “technical trials”, there’s still a lot of things to do: finishing, fitting, accessories, other equipments, etc… Consider to be half way through my Hello World – 3 planning.